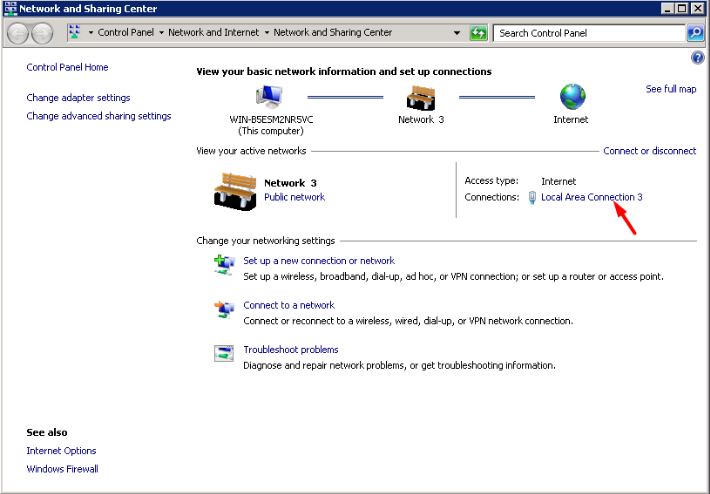
Step 1
Login to your Server and open the Networking and Sharing Center, and edit the Network Interface.

Step 2
Under network and sharing center, select Change Adaptor Setting.
Step 3
At Local Area Connection. Notice it highlights blue and adds some options in the above line. Let’s click on “Change settings of this connection”.
Step 4
Step 5
Now double click on “Internet Protocol Version 4 (TCP/IPv4)” or select it and click “Properties”.

Step 7
Configure static Ip manually. Select "Use the following IP Address" and please enter the following information:
IP Address: Enter your IP Address Eg. xxx.xxx.xxx.xxx (for example your VPS Ip: 123.28.282.282)
Netmask: 255.255.255.0
Default gateway: Eg. xxx.xxx.xxx.1 [the last figure is 1] (for example your VPS Gateway: 123.28.282.1)
Preferred DNS: 8.8.8.8
Alternative DNS: 8.8.4.4

Step 8
Press OK until the end of the configuration Network Connections screen. Your established Session will be disconnected, please reconnect back your Remote Desktop.
